PlotterBot in action – drawing Calvin & Hobbes

PlotterBot drawn Calvin & Hobbes

PlotterBot drawn Calvin & Hobbes

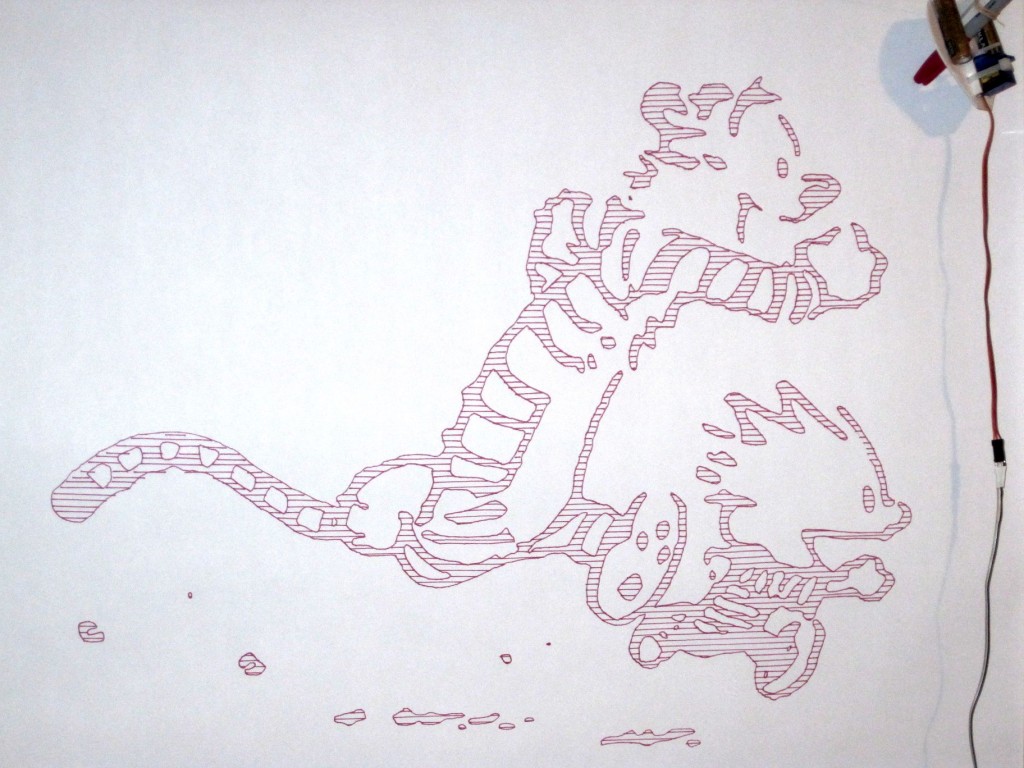
It must be that school is almost out and summer is in the air – because I started thinking back to my favorite comic strip of all time – Calvin & Hobbes.  I made the above drawing by taking a picture of a small 1″ x 1″ comic and “tracing” it into a vector graphic in Inkscape.1 Once I had an outline I was happy with, I used the EggBot extension for Inkscape from EMSL to add a hatching “shading” design to the drawing.  If I had made the hatching close together or used a wider tipped pen, this could have been a lot darker.  However, I really like the way it turned out.

The final drawing is about 19″ tall and 24″ wide.

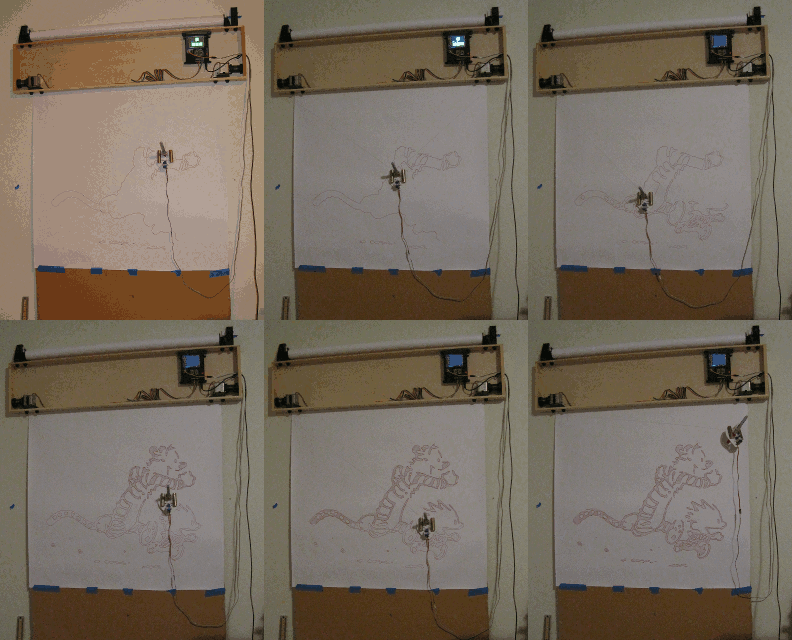
Since this drawing took about two hours, I took pictures at intervals from my digital camera on a tripod.  I compiled them together into an animated GIF, below.  (Please let me know if you can’t see it)

Draw PlotterBot!  Draw like the wind!

Draw PlotterBot! Draw like the wind!

The result is a two hour drawing completed in just under two seconds.  Nice, eh?

Also, if you need your Calvin & Hobbes fix, this website is running the old comics one day at a time.

  1. A tutorial is forthcoming… []

How to make a working wrench out of paper

While setting up my booth at the Maker Faire Bay Area 2013, I found that I wanted to tighten the wingnuts on the back of my project mounting board.  The only problem was that I didn’t have a wrench to tighten the wingnuts beyond finger-tight.  In the spirit of Maker Faire, I improvised with the only material on hand in abundance – paper.

Now, you can too…

MATERIALS

  • Paper

BUILD

  1. Roll the paper into a tight tube.
  2. Fold the paper tube over itself.

USE

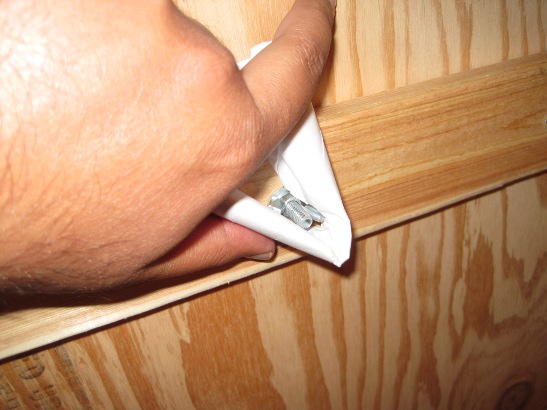
  1. Tighten wingnut with your fingers as much as possible.

    Wingnut, untightened

    Wingnut, untightened

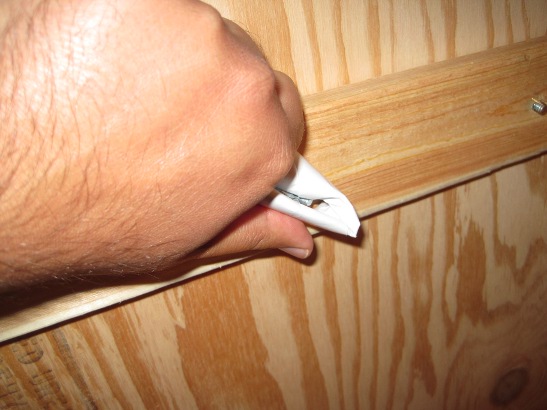
  2. Place the paper tube around the wingnut, so that the wingnut is in the crook of the bend in the paper tube.

    Folding paper wrench over wingnut

    Folding paper wrench over wingnut

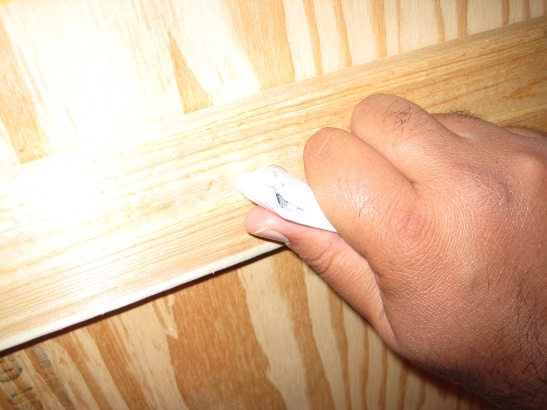
  3. Grip the wingnut through the paper tube and turn.  Although the paper tube doesn’t have much strength, the paper tube will allow you to get a better grip on the wingnut.  Moreover, the paper tube will let you use your entire fist to tighten the wingnut rather than just your finger tips.
    Gripping wingnut with paper wrench

    Gripping wingnut with paper wrench

    Wingnut, tightened with paper wrench

    Wingnut, tightened with paper wrench

    1. I used this same exact paper wrench with a small 3mm hex wrench to tighten bolts on my project box.  Just as with the wingnut, the paper wrench let me get a better grip on the hex wrench and tighten the bolts without hurting my fingers.


How to make a portable mounting board for a drawing robot

Robot Mounting Board Diagram

Robot Mounting Board Diagram

The weekend before last was Maker Faire Bay Area – and I had a problem.  With a few days ago, my PlotterBot and the display board were done, but I still needed to figure out how to set up the robot in my booth.

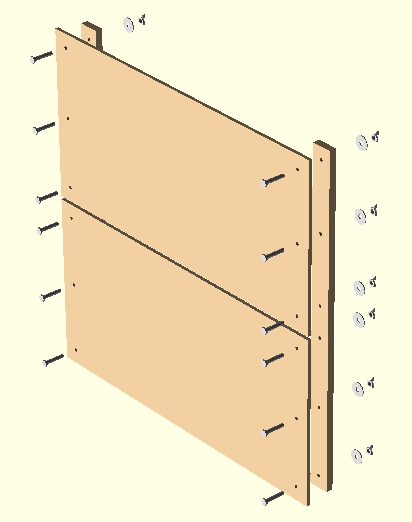
Before I had built the robot into a 3-foot-wide wooden box, it had been mounted on a 2-foot by 4-foot piece of plywood.  My problem was that I had to rig a mount for the robot (a) without uninstalling it from the cool project box (b) could be easily assembled and disassembled and (c) would fit in our car’s trunk.  The above diagram depicts how I solved this problem.

The project box I used for my robot is a long shallow wooden box – about 3′ long, 2″ deep, and roughly 8″ tall.  After drilling a few holes at the top of the above assembly, I mounted my robot to the top sheet of plywood and was ready to start drawing 4′ tall pictures.  If you want to make something similar give this a shot:

MATERIALS (total cost ~$33)

  • One 1″ x 3″ x 8′ lumber (~$2)
  • Two 2′ x 4′ x 0.5″ plywood or particleboard (~$14/both)
  • Twelve 2″ long 1/4″ bolts (~$0.75/each)
  • Twelve 1/4″ washers (~$0.10/each)
  • Twelve 1/4″ wingnuts (~$0.50/each)
  • Masking or painter’s tape

TOOLS

  • Drill
  • Saw

BUILD

  1. Saw the 1″ x 3″ x 8′ board in half to get two 1″ x 3″ x 4′ boards.
    1. Short story:  Part of the reason
  2. Lay the two 2′ x 4′ sheets of plywood next to each other to form a 4′ x 4′ sheet.
    1. Most sheets of plywood have some warp to them.  When laying the two sheets next to one another, try rotating and flipping the boards over to make sure the two boards meet together evenly.  I say “evenly” rather than “flatly” because the two boards would still work together just fine if they are warped similarly where the they meet.
  3. Lay the two 1″ x 3″ x 4′ boards on either edge of the 4′ x 4′ sheet, so that they cross the spot where the two sheets of plywood meet.
  4. Drill six evenly spaced 1/4″ diameter holes through each board.

ASSEMBLE

  1. Put a bolt through each hole in the plywood and 1″ x 3″ x 4′ boards, as shown in the diagram above.
  2. Add the washer and thread the wingnuts on to the bolts.

PRO TIP:   Place a long strip of tape across the seam between the two sheets of plywood.  This will help minimize the impact of the seam when the robot is drawing.  If the seam is particularly uneven, tape long sheet of paper over the seam.

The beauty of this project is that it is a quick, cheap, and easy way to have a large portable (or permanent!) drawing surface for your robot that can be assembled or disassembled in minutes.

PlotterBot Drawn Illuminated Text

Post-Modern Illuminated Text

Post-Modern Illuminated Text

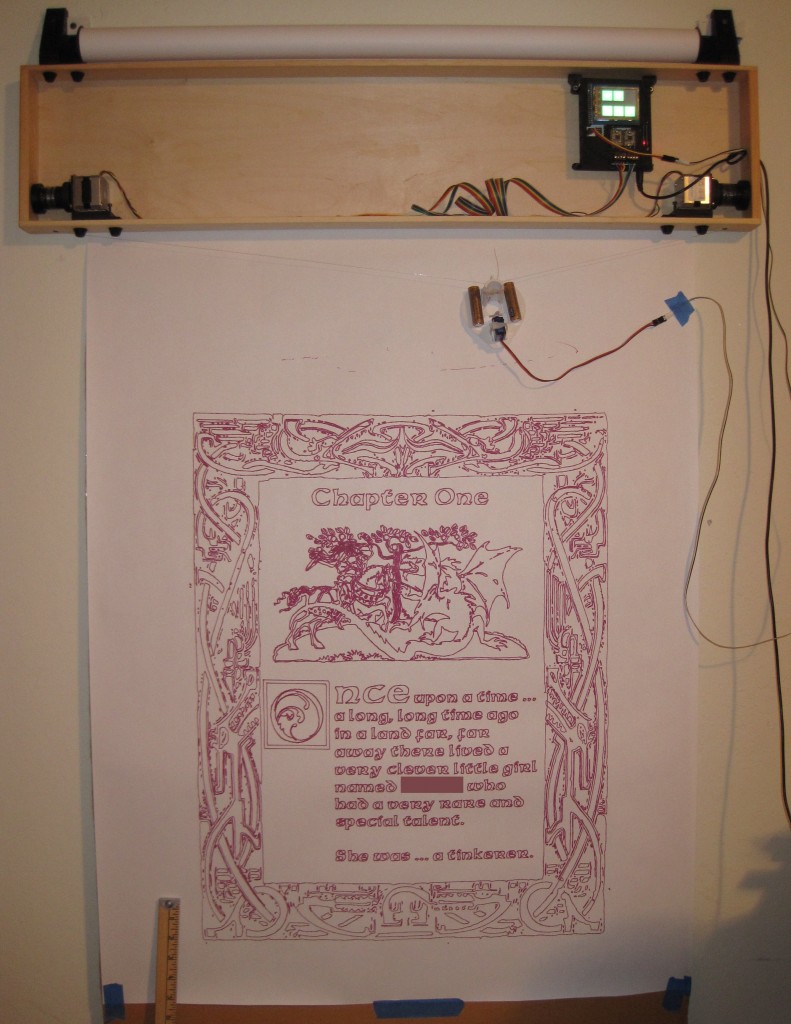
This morning I designed a surprise for my daughter.  It is an illuminated text version of the first page of a hypothetical storybook all about her.  The big smudge in the center is where I blocked out her name.  🙂  The drawing is roughly 20-inches wide and 28-inches tall. The drawing took more than 8-hours and was my first concerted attempt to draw something using servo powered pen lifts.

It reads:

Chapter One

ONCE upon a time … a long, long time ago in land far, far away there lived a very clever little girl named [_____] who had a very rare and special talent.

She was … a tinkerer.

The PlotterBot started drawing at about 2pm today and finished a little after 10pm.  By the time she went to bed, the robot had only completed the border.  I can’t wait to give it to her!

I designed the picture in Inkscape using a vector graphic of a cool border, a knight fighting a dragon, a combination of several fonts, and some touches of my own.  Once done I had to do a small amount of fiddling with Inkscape to make the file more “draw-able,” a process I will document in the next few days.

Pen Lift Achievement Unlocked!

Drawing vectors with the PlotterBot

Drawing vectors with the PlotterBot

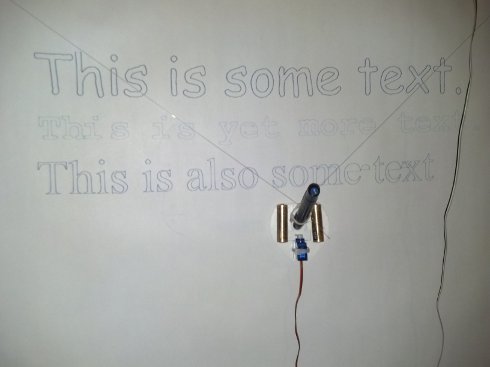
I recently developed a simple printable pen holder for my PlotterBot.  Although it worked wonderfully as a pen holder for single-line drawings and although I had designed it to work with a servo for pen lifts, I had literally never tried actually using it with pen lifts until yesterday.

Above is my first attempt to draw vectors with pen lifts and, frankly, it came out beautifully.  The design of the pen lift system could not be any simpler.  The pen holder has a mount for the micro servo which holds it as close as possible to the wall-facing surface of the pen holder and a rectangular hole for allowing the servo’s arm to sweep through.  I was concerned that the sweeping action of the servo arm would cause a slight stray mark on the paper.

Despite my concerns, the pen lift test was successful.  It really came down to a matter of balance.  Once I had swapped in a different pen lift arm and connected the pen lift servo cable, I was able to easily adjust the balance by changing the location of the filament attachment.  With the proper balance achieved, the pen lift essentially worked flawlessly.

Today I tried my longest drawing ever, an 8-hour process, with voluminous pen lifts.  The result was… amazing.

Stay tuned for a picture.

Liked our booth at the Maker Faire? Take it home with you!

Subscribe to my mailing list to get a PDF with all the materials from the Maker Faire booth plus all the information, links, videos, and resources you’ll need to build your own PlotterBot from scratch – even if you’ve never tried building anything before!


I promise not to spam you, ever. I will only send you e-mail about how to build your very own robot and updates to any plans.