The choice of paper in a PlotterBot is nearly as important as the choice of pen or marker.1 Some of these considerations are:
- Quality. Is the paper archival quality? Will it yellow or discolor over time or when exposed to light?
- Expense. Is it expensive? Sometimes things happen during a drawing and you end up with a diagonal line going across the entire sheet of paper. It’s annoying when you’re using cheap banner paper, because you might have lost a few hours of work. It’s really painful when you’ve bought 10 sheets of super nice paper for $50 and it’s totally wasted.
- Finish. What is the finish? Smoother/glossier papers will tend to bleed less, but they will also tend to smudge more and possibly take the ink less well. Papers with a flat/matte finish will tend to smudge less, but be more absorbent and bleed more. Paper with a grain or tooth to it will also wear down on your felt tip marker or accumulate paper fuzz on the tip of your pen.
- Portability. Will it roll? If you’re selling or transporting drawings, you don’t want a stiff board that would crack rather than roll into a hard mailing tube. Thinner papers that roll better will also accidentally wrinkle or crease more easily.
Cheap Banner Paper
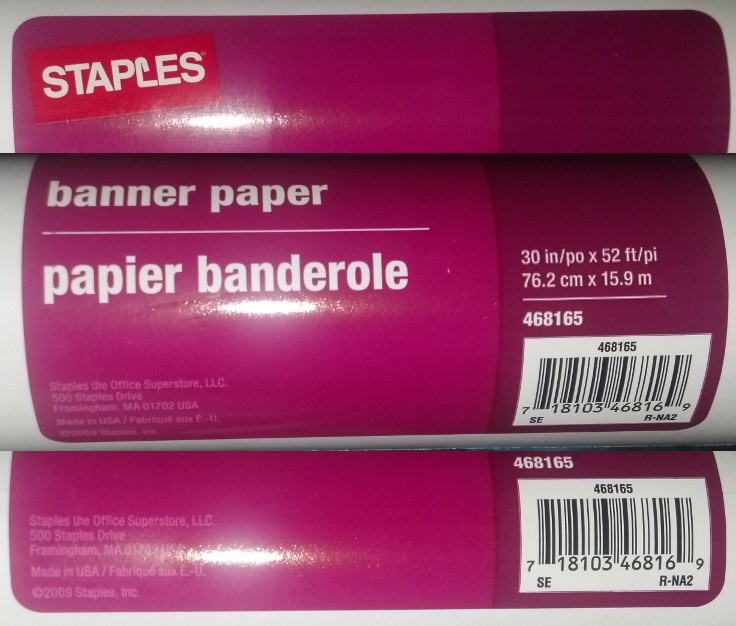
So far my favorite paper, as crazy as this sounds, has been the cheap banner paper rolls I buy from the local Staples office supply store. These rolls are about $5 each for a 30″ wide roll that’s 52 feet long. Since each of my drawings tend to be about 2-3 feet in height, I can get more than a dozen drawings out of each roll. This paper has a mild gloss to it, very little tooth, rolls and unrolls easily2 , takes Sharpie ink well, and doesn’t bleed or smudge much. I’m pretty confident that this paper isn’t archival quality, but given that each drawing is about $0.40 worth of paper, it’s a trade off I’m willing to accept.
There is always an informative discussion on paper choices over at Sandy Noble’s Polargraph forum. Although I haven’t tried these other papers, here’s a short list of some of those recommendations.
Bristol Board
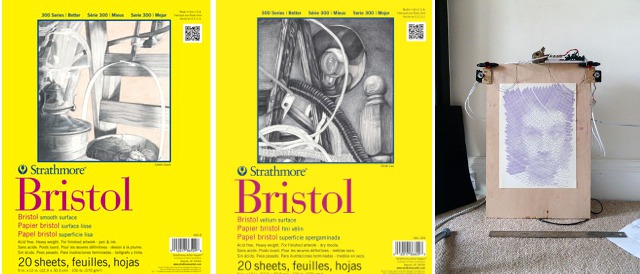
Sandy Noble uses Bristol Board as it is smooth (so it doesn’t gum up the pen tip) and easy to roll. He found that it tended to hold the curl of a roll once it had been held that way.
The largest sheets of 300 Series Bristol Board Strathmore makes is 22.5″ x 28.5″. You have your choice of vellum or smooth. I can only seem to find these listed as 23″x29″ and sold by the sheet starting from $1.50/sheet. However, they also sell rolls that are 42″ wide and 10 yards long which seem to go for about $50/roll. ((My robot was specifically built to accommodate a 30″ roll of paper, but could be adjusted without too much modification to draw on an even larger scale and accommodate larger rolls.))
Tango Advantage Digital 10pt C1S Paper
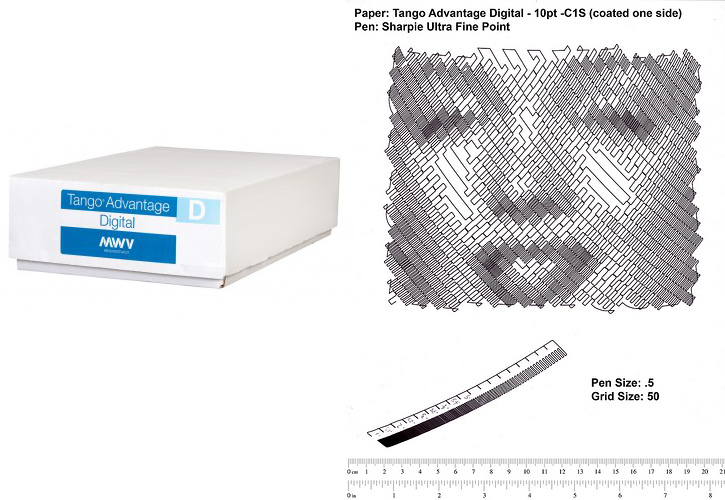
Kongorilla recommends using Sharpie Ultra Fine tip markers on Tango Advantage Digital paper.
The largest sheets of Tango Advantage Paper I can find online are 19″ x 13″ – which is on the small side, given my robot’s capabilities. A pack of 450 goes for about $80, which brings the price to around $0.18/sheet.
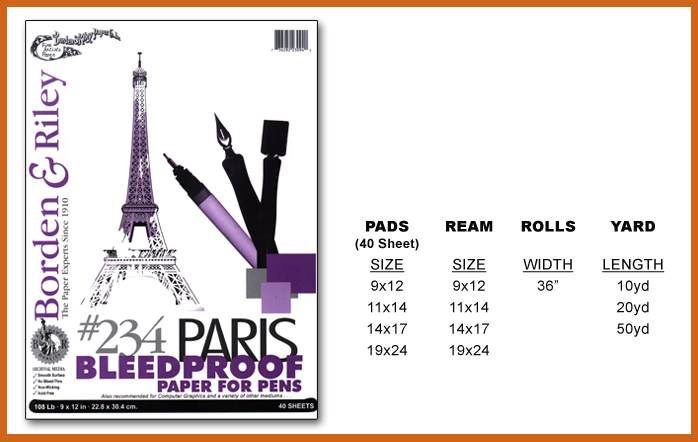
Borden & Riley Paris Paper
Gensior recommends Borden & Riley Paris Paper as he finds it smooth, flexible, strong, semi-gloss finish, and seems to not bleed with the Pigma Micron pens he uses. He does note that it only comes in white.
I was able to locate some of this art paper online in sizes up to 19″x24″ for $40 for 40 sheets (basically, $1/sheet) and 36″x10 yard rolls for $29.
- Photo courtesy of Kristina Alexanderson [↩]
- But does wrinkle and crease easily too [↩]

