While setting up my booth at the Maker Faire Bay Area 2013, I found that I wanted to tighten the wingnuts on the back of my project mounting board. The only problem was that I didn’t have a wrench to tighten the wingnuts beyond finger-tight. In the spirit of Maker Faire, I improvised with the only material on hand in abundance – paper.
Now, you can too…
MATERIALS
- Paper
BUILD
- Roll the paper into a tight tube.
- Fold the paper tube over itself.
USE
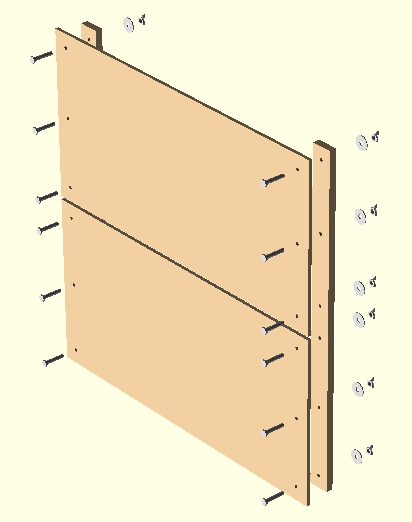
- Tighten wingnut with your fingers as much as possible.

Wingnut, untightened
- Place the paper tube around the wingnut, so that the wingnut is in the crook of the bend in the paper tube.
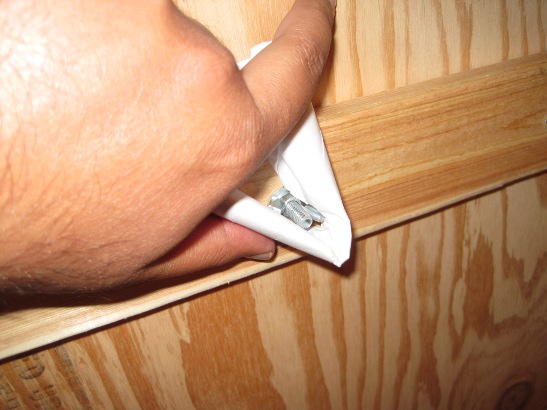
Folding paper wrench over wingnut
- Grip the wingnut through the paper tube and turn. Although the paper tube doesn’t have much strength, the paper tube will allow you to get a better grip on the wingnut. Moreover, the paper tube will let you use your entire fist to tighten the wingnut rather than just your finger tips.

Gripping wingnut with paper wrench
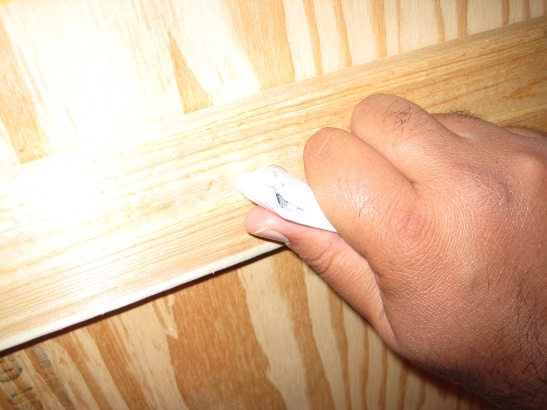
Wingnut, tightened with paper wrench
- I used this same exact paper wrench with a small 3mm hex wrench to tighten bolts on my project box. Just as with the wingnut, the paper wrench let me get a better grip on the hex wrench and tighten the bolts without hurting my fingers.