Iron Man Armor

ironman-20x29

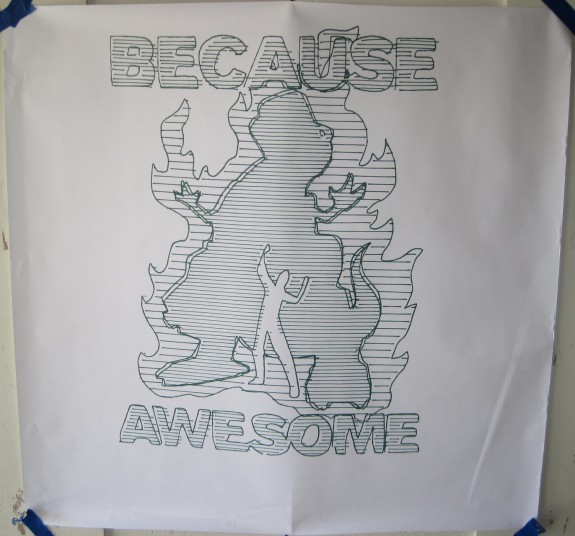
Iron Man Armor, green Sharpie on banner paper, 20″ tall by 29″ wide

This drawing of Iron Man, in green Sharpie on banner paper, was created at Maker Faire Bay Area 2014.  The finished drawing is 20″ tall by 29″ wide, nearly the entire width of the roll of paper.  The dimension refer to the drawing, not the sheet of paper.  The drawing took about four hours to complete.

I happened upon the picture of Iron Man from a SEGA video game while searching for something to draw.  I chose green for the drawing because, frankly, it was almost all I had left by the end of Maker Faire weekend.  As with several other drawings, I fiddled with the Inkscape “Trace Bitmap” function until I got a result I felt would come out nicely.  Rather than reducing the entire drawing to black and white shapes, as I did with the Serenity picture, I instructed the program to separate the drawing into several different colors, each in their own layer. Rather than shading each layer differently, as I did with the Fakegrimlock picture, I opted to just have the robot trace out each layer.

The result is that those areas of the drawing that are more “highlighted” are outlined concentrically several times.  There is some variation between each layer, which I would attribute to the servo cable getting caught on the edge of the paper or board while drawing.  Even so, I’m very happy with the result.

Fake Grimlock Because Awesome

fakegrimlock-23x17

Fake Grimlock, green Sharpie on banner paper, 23″ tall by 17″ wide

This drawing of Fakegrimlock ((Twitter sensation and lean startup robot dinosaur)) being awesome is green Sharpie on banner paper, 23″ tall x 17″ wide.  The dimensions refer to the drawing, not the sheet of paper.  This drawing took about four hours to finish.

This is something I’ve wanted to draw for a while now – Fakegrimlock’s “Because Awesome” sketch.  I particularly enjoy Fakegrimlocks’ drawing style – simple evocative drawings with just a few words.  Angry chickens, militant mice, big damn robot dinosaurs.  As with the Boba Fett, I used the Inkscape Eggbot extension to add hatching to the drawing.  In tracing the original bitmap drawing in Inkscape, I managed to separate it into three different colors – the person (lightest), the robot dinosaur and words (darkest), and the flames (medium).  From there I added hatching to the flame layer and a tighter hatching to the dinosaur robot and words.  The penlifts on this drawing weren’t as tight as some of my other pictures, but I actually like the way it comes out.

I like to think Fakegrimlock would approve.  Or, at least, not eat me.

The drawing has a slight crease to the right bottom quadrant.  Otherwise, it’s pretty much just awesome.

Star Wars Boba Fett

bobafett-20x22

Star Wars Boba Fett, green Sharpie on banner paper, 20″ tall by 22″ wide, a little worse for wear

This robot drawing of Boba Fett is in pretty sorry shape after Maker Faire Bay Area 2014.  Green Sharpie on banner paper, 20″ tall by 22″ wide, the dimensions refer to the drawing, not the sheet of paper.  It took about three hours – mostly due to the hatching1 I added to shade parts of the drawing.

To create the drawing I used Inkscape’s “Trace Bitmap” function on an altered picture of Boba Fett I found on the internet.  It can help to “posterize” an image in GIMP before trying to “Trace Bitmap” in Inkscape.  This also allows a little more control over the shading and various regions.  Just as with the 100 Acre Woods drawing, the pen slipped out slightly in the pen holder, causing the some sweeping arcs to appear across the middle of the image.  Unlike that other drawing, they don’t appear to detract as much here.

Once drawn, I taped this picture to the cloth over the table at the front of the booth.  What I didn’t realize is that every child who walked up would pick at the tape and kick the bottom of the drawing with their feet.  While the central drawing is relatively untouched, it does suffer from the cosmetic default caused by the pen slippage.  Although it’s pretty obvious from the photograph above, the paper is actually torn at the right hand side and there is still some masking tape at the top left of the paper.

  1. Using the awesome Eggbot Inkscape plugin []