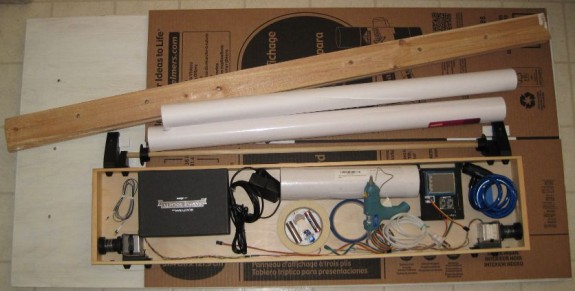
PlotterBot – packed up and ready to go
One of the things I appreciate most about the design of my PlotterBot is that it is extremely modular and portable. All of the parts have been designed so that the entire robot can be assembled and disassembled with a single 3mm hex wrench. Pictured above is everything I need to setup the robot and spend all weekend drawing – the tools, hardware, replacement parts, extra tape, paper, and pens. ((If only I had remembered the metric ruler!)) Best of all, all this stuff fits neatly into my car’s trunk. The robot underneath in the “well” of the truck, with the large pieces of plywood on top.
I took pictures from the same standpoint as I set up the booth.
This slideshow requires JavaScript.
Or, if you prefer, here’s an animated GIF of the setup. 🙂
Maker Faire Bay Area 2014 Setup