
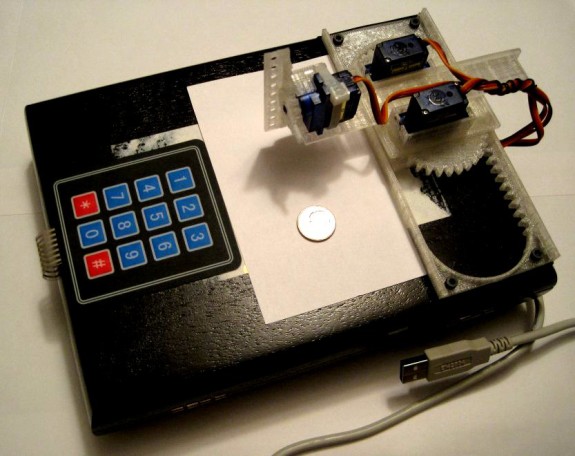
Draw on the go with a small Arduino-powered CNC robot!
Well, technically, ON a box.
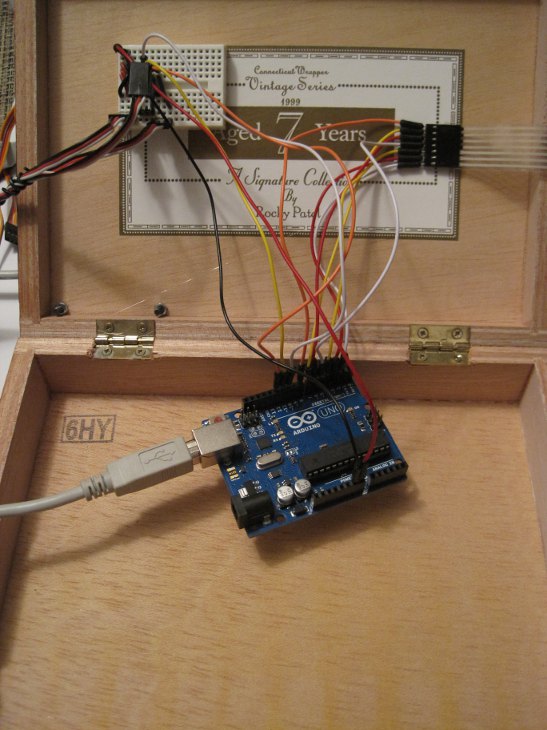
The wiring is really simple. A small breadboard is used connect Arduino pins 10, 11, 12, power and ground to the three servos. The keypad is wired directly to pins 2 – 8 on the Arduino. That’s it.
Wait… that’s all there is to it?!?
Of course, it doesn’t work. Yet. 🙂