PlotterBot Frequently Asked Questions

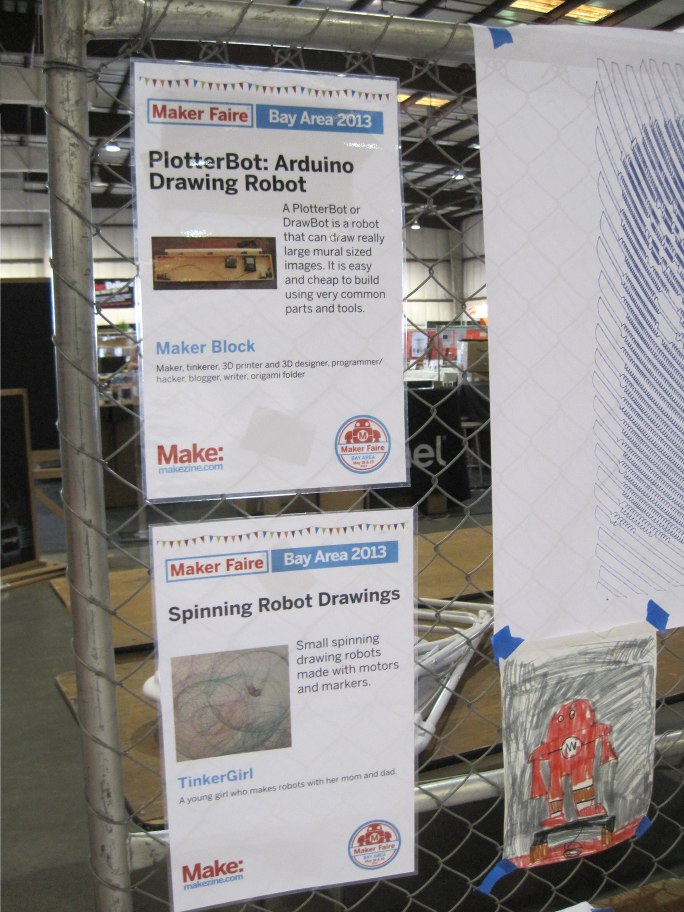
Display Posters at Maker Faire Bay Area 2013

Display Posters at Maker Faire Bay Area 2013

Although I’ve helped out at the MakerBot booth several times in prior years, this was the first time I had my very own booth.1 I had a great time answering questions and explaining how the robot worked.  I thought you might be interested in some of the questions:

  • What holds the pen up?  Magnets?
    • My PlotterBot suspends the pen holder by fishing line – which is nearly invisible from more than a foot or so away under normal lighting.  Under very bright light, the shadows of the fishing line do start to appear.  However, from more than a foot or two away, it looks like the pen holder is floating around the surface of the paper.  Unless you notice the motors turning the pulleys, it almost looks magical.
    • Sandy Noble’s Polargraph uses beaded cord and Der Kritzler uses toothed belts.  While these machines lack the “magic quality” one gets from using fishing line, the are a capable of more repeatable accuracy.
  • What software do you use?
    • I use Sandy Noble’s Polargraph firmware and software, running on an Arduino Mega shield (“Polarshield SD“) of his design.  I purchased most of my electronics directly from Sandy and I can’t recommend them enough.
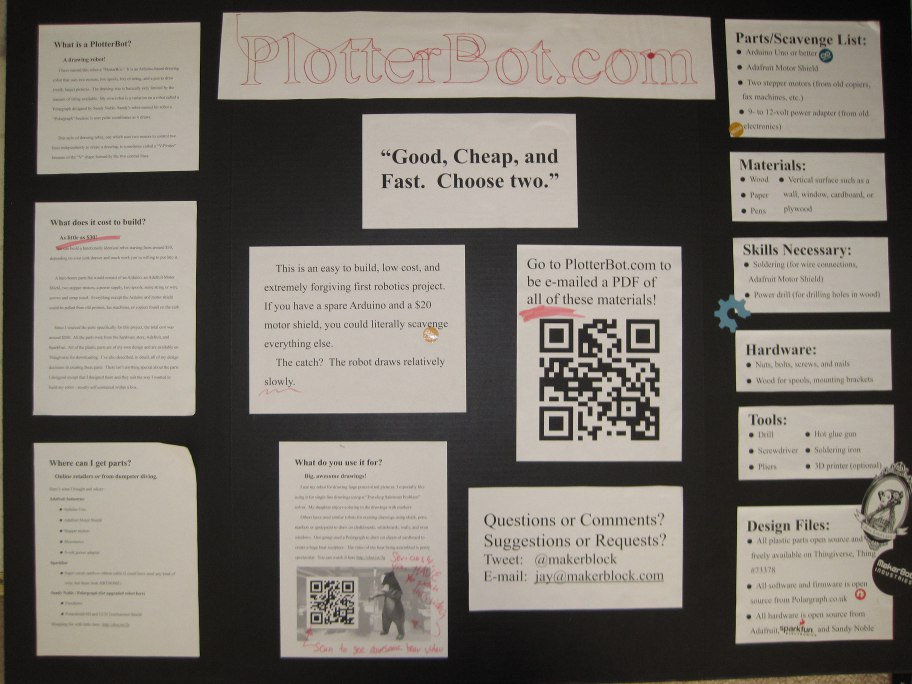
Maker Faire Display Board

Maker Faire Display Board

  • What kind of accuracy/resolution does it have?
    • This was a difficult question to answer.  To explain I pointed to the large text banner at the top of the project board next to my robot.  You can download all of the materials from my PlotterBot Maker Faire exhibit here or you can see a copy of the text just after I managed my first successful pen lifts.
    • I would estimate that the robot could probably manage to just barely draw from around 30pt font to an arbitrarily large size.  However, if you used beaded cord or, better yet toothed belts, and small sprockets or gears in conjunction with a fine tip pen you could probably manage even finer repeatable accuracy.
  • How fast can it go?
    • I suggested that the entire robot adhered to that most basic of all engineering principles – “Good, cheap, and fast – pick two.”  It’s fairly cheap and easy to build and yields pretty amazing results, but there is a practical upper limit to the speed with which you can operate the robot.  If you run it too fast, the motors may skip steps resulting in poor results.  Also, running it too fast would likely also cause the pen to skip across the drawing surface or might not give the pen enough of an opportunity to leave an ink trail.  For best results, I try to find a speed that works well with my pen holder and pen to draw quickly enough so the pens don’t bleed much and slow enough to get good results.
  • How big can it draw?
    • Basically, an unlimited size.  There are some practical limitations from the Arduino software which suggest that a 63 meter diagonal is the biggest you can accomplish with Sandy’s software.  However, with some more effort to tinker with the code, there’s no real reason why even larger sizes wouldn’t be possible.  Also, the larger the pulleys/sprockets/gears the larger the drawing could be as well.  Bill Ola Rasmussen posted some very interesting mathematical considerations regarding line tension and the practical limitations of resolution at the edges of the machine’s capabilities.  Basically, if you want a big drawing, you need a really big robot.
    • While all this is very abstract, it’s also nice to show how these kinds of robots can reach amazing proportions.  Sandy has used a Polargraph to draw across huge wall sized installations. (About 20 feet wide).  Two similar machines, Hektor which draws in spraypaint and Viktor which draws in chalk, were used to draw on entire walls.
  • What kind of pens do you use?
  • How long does a drawing take?
    • 2′ x 3′ drawing typically takes about 4-6 hours depending upon the density of the drawing and thickness of the marker line.  The longest drawing I’ve ever done took about 8 hours.  And it was AMAZING.
  • How do you create these drawings?
    • The software basically translates normal images (JPG) into very pixelated versions of themselves and then into instructions the robot’s firmware understands.  The process is a little more direct for vector drawings, converting the SVG files directly into instructions for the robot.  I can send the instructions to the robot either over USB or saving them to an SD card which it reads.
  • How much did it cost to make?
    • I sourced all the parts I needed for my first robot, rather than trying to scrounge for motors and wire.  As a result, it probably cost around $100 for a machine that used an Arduino Uno and an Adafruit Motor Shield and had to be tethered to a computer via a USB cable.  For someone willing to tear apart old electronics and hack things together from scrap wood, it could probably be built for around $30-$50.  The robot I had on display cost around $250 in electronics, $10 for the cost of the printed plastic parts, about $40 for the wood and hardware, and a wooden box left over after a catered event.  To buy plastic parts, all the hardware off the shelf, and electronics would probably cost about $500.
  1. Well, I did share the space with my daughter! []

What is the best paper to use with a PlotterBot?

This is not the paper you're looking for.  Move along.

This is not the paper you’re looking for. Move along.

The choice of paper in a PlotterBot is nearly as important as the choice of pen or marker.1 Some of these considerations are:

  • Quality.  Is the paper archival quality?  Will it yellow or discolor over time or when exposed to light?
  • Expense.  Is it expensive?  Sometimes things happen during a drawing and you end up with a diagonal line going across the entire sheet of paper.  It’s annoying when you’re using cheap banner paper, because you might have lost a few hours of work.  It’s really painful when you’ve bought 10 sheets of super nice paper for $50 and it’s totally wasted.
  • Finish.  What is the finish?  Smoother/glossier papers will tend to bleed less, but they will also tend to smudge more and possibly take the ink less well.  Papers with a flat/matte finish will tend to smudge less, but be more absorbent and bleed more.  Paper with a grain or tooth to it will also wear down on your felt tip marker or accumulate paper fuzz on the tip of your pen.
  • Portability.  Will it roll?  If you’re selling or transporting drawings, you don’t want a stiff board that would crack rather than roll into a hard mailing tube.  Thinner papers that roll better will also accidentally wrinkle or crease more easily.
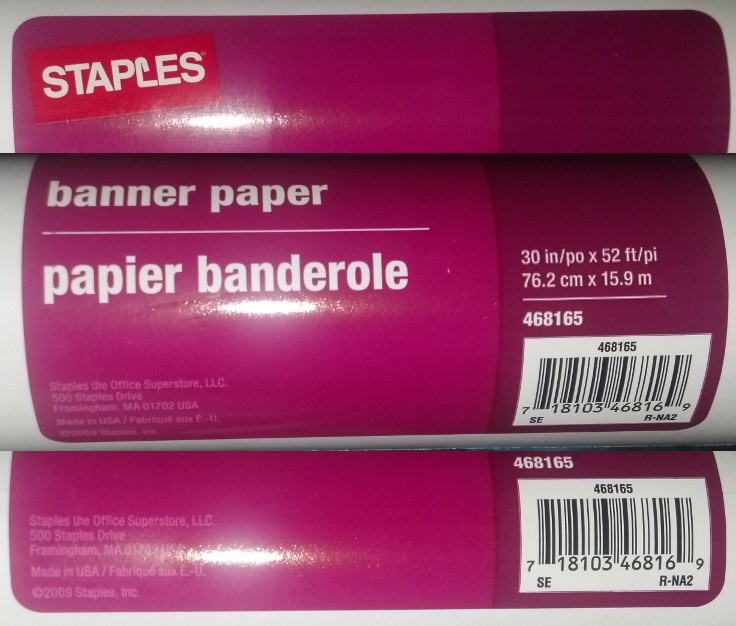
Cheap banner paper roll of choice

Cheap banner paper roll of choice

Cheap Banner Paper

So far my favorite paper, as crazy as this sounds, has been the cheap banner paper rolls I buy from the local Staples office supply store.  These rolls are about $5 each for a 30″ wide roll that’s 52 feet long.  Since each of my drawings tend to be about 2-3 feet in height, I can get more than a dozen drawings out of each roll.  This paper has a mild gloss to it, very little tooth, rolls and unrolls easily2 , takes Sharpie ink well, and doesn’t bleed or smudge much.  I’m pretty confident that this paper isn’t archival quality, but given that each drawing is about $0.40 worth of paper, it’s a trade off I’m willing to accept.

There is always an informative discussion on paper choices over at Sandy Noble’s Polargraph forum.  Although I haven’t tried these other papers, here’s a short list of some of those recommendations.

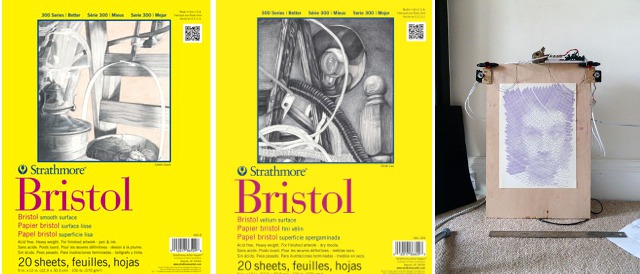
Strathmore 300 Series Bristol Board used by Sandy Noble

Strathmore 300 Series Bristol Board used by Sandy Noble

Bristol Board

Sandy Noble uses Bristol Board as it is smooth (so it doesn’t gum up the pen tip) and easy to roll.  He found that it tended to hold the curl of a roll once it had been held that way.

The largest sheets of 300 Series Bristol Board Strathmore makes is 22.5″ x 28.5″.  You have your choice of vellum or smooth.  I can only seem to find these listed as 23″x29″ and sold by the sheet starting from $1.50/sheet.  However, they also sell rolls that are 42″ wide and 10 yards long which seem to go for about $50/roll.  ((My robot was specifically built to accommodate a 30″ roll of paper, but could be adjusted without too much modification to draw on an even larger scale and accommodate larger rolls.))

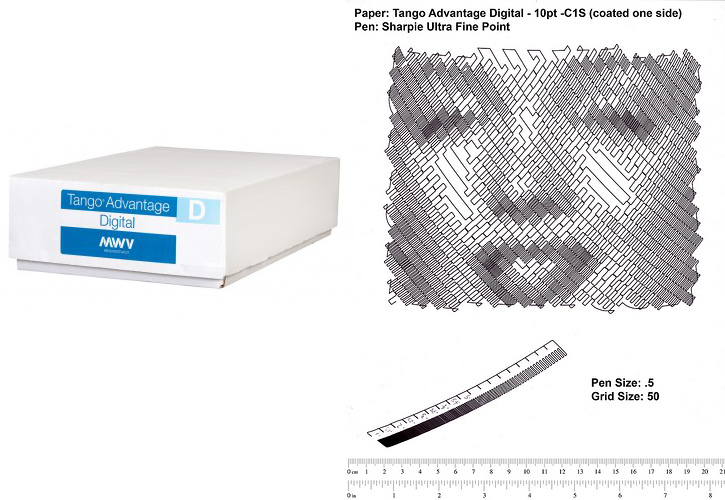
Tango Advantage Digital 10pt C1S used by Kongorilla

Tango Advantage Digital 10pt C1S used by Kongorilla

Tango Advantage Digital 10pt C1S Paper

Kongorilla recommends using Sharpie Ultra Fine tip markers on Tango Advantage Digital paper.

The largest sheets of Tango Advantage Paper I can find online are 19″ x 13″ – which is on the small side, given my robot’s capabilities.  A pack of 450 goes for about $80, which brings the price to around $0.18/sheet.

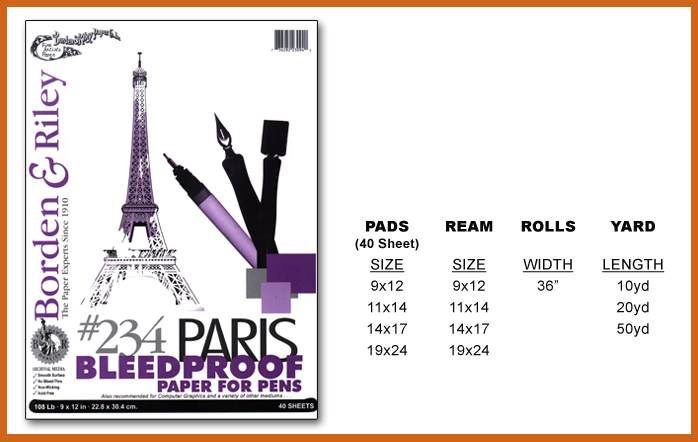
Borden & Riley Paris Paper used by Gensior

Borden & Riley Paris Paper used by Gensior

Borden & Riley Paris Paper

Gensior recommends Borden & Riley Paris Paper as he finds it smooth, flexible, strong, semi-gloss finish, and seems to not bleed with the Pigma Micron pens he uses.  He does note that it only comes in white.

I was able to locate some of this art paper online in sizes up to 19″x24″ for $40 for 40 sheets (basically, $1/sheet) and 36″x10 yard rolls for $29.

  1. Photo courtesy of Kristina Alexanderson []
  2. But does wrinkle and crease easily too []

What are the best pens to use with a PlotterBot?

The Pen Plotter is Mightier Than The Sword

The Pen Plotter is Mightier Than The Sword

One of the most common questions from Maker Faire was whether I used any special pens.1

There are a few issues to consider when selecting a pen to use with your drawing robot.  First and foremost, the pen needs to be able to write consistently when it is positioned perpendicular to a vertical surface.  Secondly, it shouldn’t dry out too fast – since a single large drawing could take as much as 6-8 hours.  Third, it should have a large enough supply of ink enough to drawing of choice.

I’ve tried out lots of different kinds of pens – from normal office supply style gel pens, to permanent markers, to expensive art markers.  Overall, my favorite pen to use was the art markers, but for most purposes I would probably go with a Fine Point Sharpie.

Prismacolor Premier art markers

Prismacolor Premier art markers

Art Markers

Art markers, the kind you’d find at an art supply store, are really great.  They come in a variety of colors and the ones I prefer, the Prismacolor Premier Chisel Double Ended markers have a wide and fine tip end to choose from.  These particular pens seemed to last a really long time.  I was able to draw three or four hour drawings with a single marker.  The only downside to these markers are the cost.   Amazon only sells these pens in large sets (12, 24, and 72 markers) that average out to about $2-3/marker.  While you can buy them individually from your local art supply store, they will end up being about $3-5/pen.  That said, if you just had to have a drawing with a particular color marker, you probably can’t beat the color sections from a Prismacolor set.

Sharpies

Sharpies

Sharpie Markers

Sharpies are ubiquitous, come in lots of colors, and are fairly cheap.  A pack of assorted colors of Sharpies would probably average out to about $1-$1.5/pen.  Chances are your local office supply store runs a deal on these every few weeks.  I picked up a pack of 12 colors for about $5 just before Maker Faire this year.  In my experience, a Sharpie Marker Fine Point would be good for about two big drawings.  Sharpie also sells pens – which might work even better since they have a smaller surface area and may not dry out as quickly.  I’ve experimented with trying to “revive” a dried out Sharpie by soaking the pen tip in rubbing alcohol (as I had read somewhere on the internet), but it didn’t seem to do much.

Pilot Precise V5 / V7

Pilot Precise V5 / V7

Pilot Gel Pens

One of my favorite pens for paper work/office use is the Pilot Gel series of pens.  Of these, I prefer their “Precise” line of pens.  They only come in a very few colors (red, black, blue, and green), but they are reasonably cheap (less than $1/pen when bought by the box).  When used in a drawing robot, you’ll want to make sure they’re mounted at a slight downward tilt.  They only come in either Fine Point or Extra Fine Point.  For this reason they’re okay for small or medium sized drawings, but not very good for large pictures – as the lines would be too thin and the drawing would take too long.

Pen Reviews on Polargraph.co.uk

Sandy Noble’s website (Sandy is the creator of the Polargraph board and software I use for my own robot) has a great forum with lots of resources including several reviews and recommendations for pens.  There’s a review and guide for Sharpies, one user recommended a “KOH-I-NOOR Fiber professional,” and Sandy expressed a preference for a Kuretake Zig Millennium.

UPDATE:

Two Polargraph users, Lanthan and Kongorilla, have posted the results of their tests using various pens, including ball point pens.

Also, be sure to check out the Egg-Bot documentation over at Evil Mad Scientist Labs for suggestions on pens and markers (and other things!) to use with their pen plotter.  (Thanks Lenore!)  I would point out that those pens were tested using the Egg-Bot, which holds the pen nearly vertically, versus a wall-hanging pen plotter which holds the pen nearly horizontal.

  1. Photo courtesy of Brian []