Doctor Who TARDIS Police Box Sign

policebox-23x17

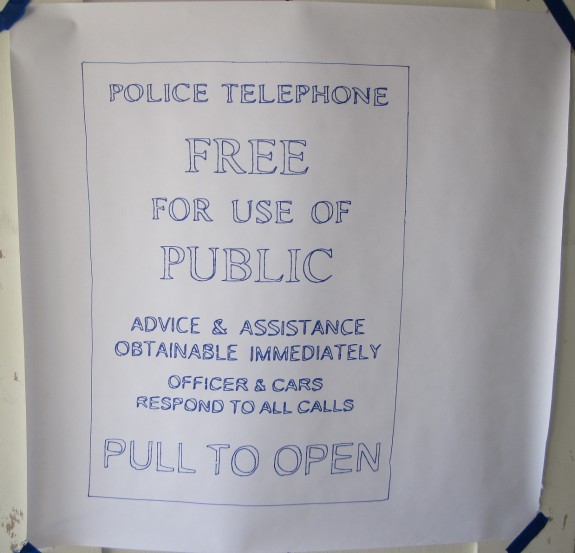
Doctor Who TARDIS Police Box sign poster, blue Sharpie on banner paper, 23″ tall x 17″ wide

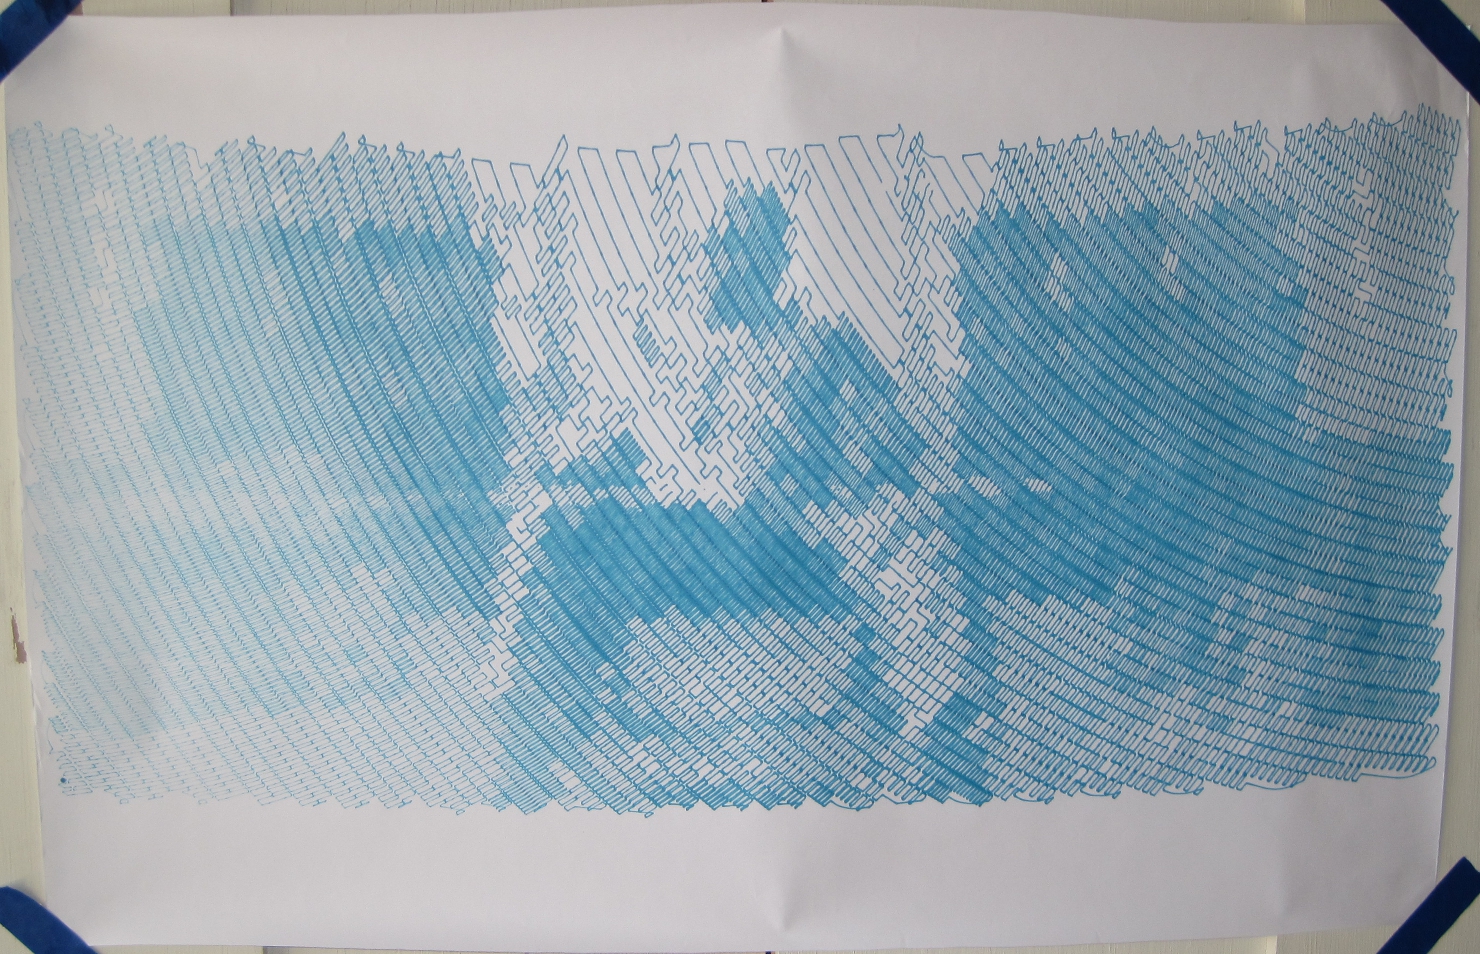
Another robot drawing from Maker Faire Bay Area 2014 with the use of the pen lift mechanism.  The drawing is blue Sharpie on banner paper, 23″ tall x 17″ wide.  The dimensions refer to the drawing, not the sheet of paper.  This drawing of the Doctor Who TARDIS police box sign took about two hours to finish.

Although the drawing is slightly skewed, which was caused by apparently starting the drawing from slightly off of the expected home point, I’m rather happy with this one.  I guess my personal metric for whether I’m happy with a drawing is whether the final result is immediately recognizable as the thing it is supposed to be.  The pen lifts and pen drops were very clean – resulting in (mostly) complete shapes.  You’ll notice the “T” in “PULL TO OPEN” has a gap between the pen drop and lift.  Although it might look like the “T” also suffers from a lack of straight lines, that isn’t necessarily the fault of the robot.  The drawing was created by using Inkscape’s “Trace Bitmap” function to detect the outlines from a picture of a police box sign – so the lack of perfectly straight lines might very well have been a result of Inkscape’s interpretation of a bitmap drawing.1

This was the second to last drawing the robot and I created at Maker Faire Bay Area 2014.

  1. I blame Inkscape, but I chose the settings it used. []

Harry Potter Hogwarts Crest

hogwarts-25x20

Harry Potter Hogwarts Crest poster, blue Sharpie on banner paper, 25″ tall x 20″ wide

At this year’s Maker Faire Bay Area 2014 all of my robot drawings were done with the use of the pen lift mechanism.  This allowed me to create big awesome pictures in less time than it would have taken by using single line drawing techniques.  Although less ink is used, the use of the pen lift mechanism introduces a delay between each line.  This drawing of the Harry Potter Hogwarts Crest by Jmh20 took about two hours to finish.  The drawing is blue Sharpie on banner paper, 25″ tall x 20″ wide.  The dimensions refer to the drawing, not the sheet of paper.  

Drawing from scalable vector graphic formats sometimes takes a bit of extra setup.  In the case of this image, I removed several of the layers from the image.  The reason for deleting layers is that the robot will draw every edge of every layer – including those that mostly overlap with others.  This is why the raven’s wing and lion’s claw can be seen through the center of the crest.  Most of what I eliminated consisted of extra outlines.

This was the very last drawing I completed at Maker Faire Bay Area 2014.

Breaking Bad’s Walter White

Breaking Bad's Walter White, blue Sharpie on banner paper, 14" tall x 29" wide

Breaking Bad’s Walter White, blue Sharpie on banner paper, 14″ tall x 29″ wide

This is one of my drawings from exhibiting at Maker Faire Bay Area 2013.  It features Breaking Bad’s Walter White sitting in a warehouse surrounded by bricks of cash.  The drawing is blue Sharpie on banner paper, 14″ tall x 29″ wide.  The drawing took about five hours to complete, because of all of the dark areas.

I chose the blue Sharpie for this drawing to echo the series’ famous “blue meth.”  I think it would have looked equally good in green1 or yellow.2  This one of my wider drawings – very nearly to the edge of each side of the sheet of paper, which is fairly difficult to do.  Since this drawing was started at the top left corner3 I couldn’t have been positive it would have finished within the left edge of the paper.  You can also see a dark spot at the bottom left where the pen soaked into the drawing for a bit before I picked up the pen.  Depending upon the drawing, I actually like this effect.

Since this drawing was posted on the fence at Maker Faire 2013, rolled up, archived, unrolled, transported to Maker Faire 2014 where it was displayed again, you can see a little wrinkling of the paper at the edges.

  1. Greed, envy, cash []
  2. To call out the yellow hazard suit []
  3. You can see how the drawing is darker at the top right, lighter at the bottom left []